You will need:
- Pre-painted paper (if you have an old piece of artwork on heavy paper or cardboard, this is the perfect way to recycle it!)
- Ruler
- Pencil
- Scissors
- Thumbtack/pushpin
- Short dress pins/straight pins (the ones with a round head)
- Thin wooden dowel (The wooden stick for the handle)
- Small round bead
- Hot glue gun (ask an adult for help with this)
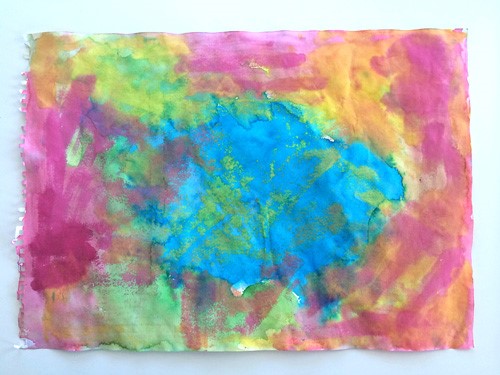
1. You could reuse a picture you have already done on thick/heavy paper or light carboard by turning it over and free painting the reverse side with food colouring. Whatever paper you decide to use, painting both sides means you create some really special pinwheels.
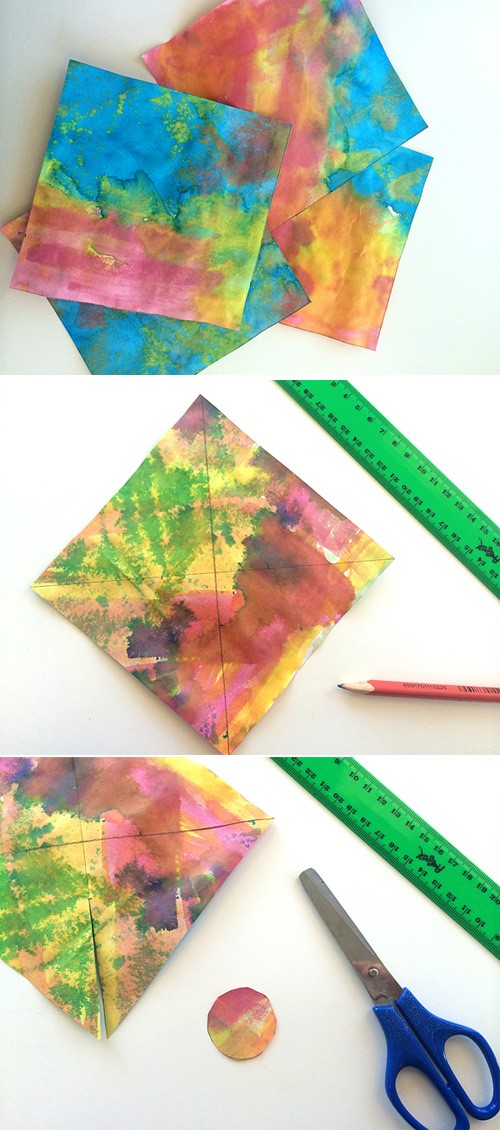
2. Cut your paper into 15cm squares (smaller or larger work too).
3. Use a ruler and pencil to draw lines from corner to corner, crossing in the centre.
4. Use scissors to cut along the drawn lines, stopping 2.5cm-5cm from the centre each time.
5. Cut a 2.5cm circle from the leftover paper.
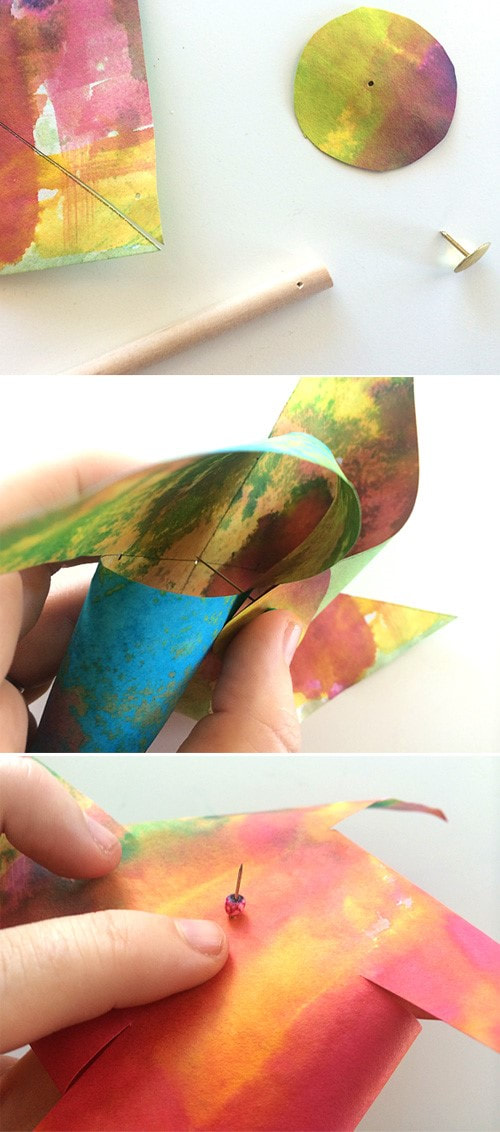
6. Use the thumbtack to poke a hole in the centre of your paper circle, in the centre of the pencilled X, near the tip of each pinwheel spoke (you will have two points in each corner of your paper square, just pierce one point making sure that it is the same side each time), and near the top of your dowel (see below). I did give the thumbtack a light tap with a wooden block to make a deeper hole in the wood. If you are having difficulty, ask an adult for help.
7. To assemble your pinwheel, insert the dress pin through the hole in your paper circle, then through each of the four points (or spokes), one at a time, and finally through the centre of the pencilled X. Slip the small bead onto the pin, then add a small dab of glue from the hot glue gun to the end of the pin and push it into the hole in your wooden dowel. It will dry quickly.
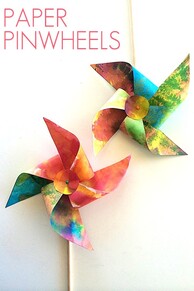
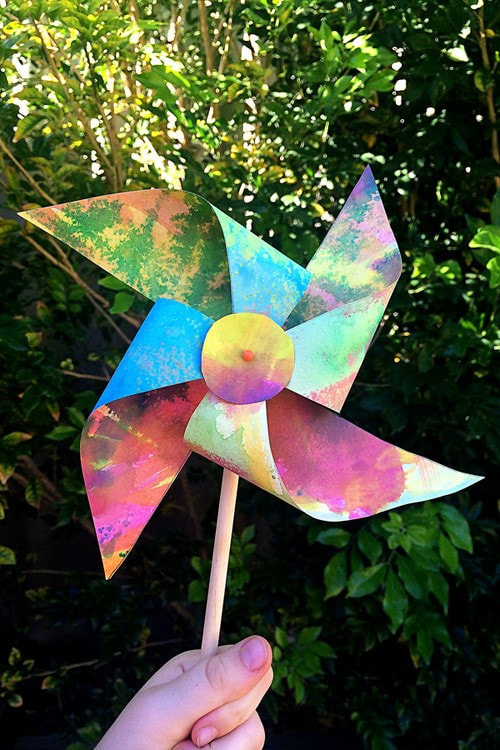
Your pinwheel is done and now ready to experiment with. Blow into the spokes to make them turn or hold them up in the wind and watch them whirl! Check out how awesome they look…







 RSS Feed